
Planning a Retail Pop-Up Activation That Works
Table of Contents
Step 1: Define What the Pop-Up Activation Must Accomplish
Step 2: Build a Pop-Up Event Planning Timeline That Matches Your Deadline
Working Backward From Opening Day
When Fabrication and Freight Enter the Schedule
Step 3: Choose a Space That Can Handle Foot Traffic, Freight, and Rules
Step 4: Use a Pop-Up Shop Checklist to Lock Down Permits, Power, and Staffing
Step 5: Pop-Up Store Design That Pulls People In and Holds Them
Designing for Assembly, Shipping, and Reuse
Step 6: Track Pop-Up Shop Success Metrics From Day One
Common Mistakes That Sink Retail Pop-Up Activations
Conclusion: Build the Pop-Up Around the Result, Not the Rendering
Frequently Asked Questions
Last Updated: October 12, 2026
Step 1: Define What the Pop-Up Activation Must Accomplish
A pop-up activation is a short-term branded retail or event space built to hit one clear business goal, whether that's product trials, lead capture, or merchandise sales. Planning a successful retail pop-up activation starts with naming that goal before anyone sketches a floor plan. This guide from Breakthrough Productions walks through the full process, from the first objective to the final metrics report.
Most teams skip this step. They fall in love with a design, book a space, then try to reverse-engineer a purpose.
That order is backwards, and it costs money. A pop-up built to sell merchandise needs a different layout, staff plan, and location than one built to launch a product or collect emails.
Write down one primary goal and two secondary goals. Keep the list short.
Primary goal: What must this pop-up achieve to count as a success?
Secondary goals: Nice outcomes, not deal-breakers
Non-goals: What you will not spend money on
A single clear goal shapes every decision after it: square footage, fixture count, staffing, and how you measure results.
Step 2: Build a Pop-Up Event Planning Timeline That Matches Your Deadline
A pop-up event planning timeline works backward from opening day, with fixed checkpoints for design approval, fabrication, freight, and install. Most retail pop-ups need eight to sixteen weeks from concept to open, depending on build complexity. Compress that window and you start cutting corners on the things that show up in photos.
Working Backward From Opening Day
Start with the date the doors open. Then subtract the days each phase actually takes.
Install and dress rehearsal: the final days before opening
Freight and shipping: days in transit, plus a buffer for delays
Fabrication: the longest single block, driven by materials and finish
Design and engineering: drawings, revisions, and sign-off
Concept and budget: the goal, the space, and the number
Every phase needs a buffer. Freight gets delayed. A finish sample arrives wrong. The buffer is not padding; it is insurance.
When Fabrication and Freight Enter the Schedule
Fabrication does not start when the design is "mostly done." It starts when drawings are approved and materials are locked. Change a material after that point and you restart part of the build.
Freight is the phase teams underestimate most. A pop-up that ships in modular crates can load in faster and cost less in labor than one built as large single pieces. Design decisions made early decide how the freight bill looks later.
Pro Tip Ask your fabricator for a build-and-ship plan before you approve the final design. Knowing how the pop-up breaks down, crates, and reassembles on site prevents expensive surprises on install day.
Step 3: Choose a Space That Can Handle Foot Traffic, Freight, and Rules
The right space is not just the best-looking one. It has to physically accept your build and legally allow your use. A beautiful storefront with a narrow service entrance and no freight access will cost you more in labor than it saves in rent.
Check these before you sign anything:
Door width and path: Can your largest crate fit through the entrance and around the corner?
Freight elevator and load-in hours: Some buildings restrict deliveries to specific windows
Power: How many circuits, and where are the outlets?
Floor load and anchoring: Can you drill, or must everything be freestanding?
Permits and zoning: Does the address allow temporary retail or assembly use?
Venue and building rules vary by city and by landlord. Confirm requirements with the local permitting office and the property manager early, because a rule discovered late can force a redesign. The U.S. Small Business Administration guidance on local permits and licenses is a useful starting point for understanding what a temporary retail space may require.
Step 4: Use a Pop-Up Shop Checklist to Lock Down Permits, Power, and Staffing
A pop-up shop checklist is the single document that keeps permits, utilities, and people from falling through the cracks. Build it once and work it like a punch list. Nothing opens until every box is checked.
Use this as your starting checklist:
Business license and any required temporary-use permit secured
Certificate of insurance on file with the landlord
Power plan confirmed: circuits, extension needs, and lighting load
Wi-Fi or cellular backup for payment terminals
POS system tested and staff trained
Staffing schedule built for peak and slow hours
Signage and wayfinding approved by the landlord
Waste, restroom, and break-area logistics confirmed
Security plan for overnight and high-value merchandise
Emergency contact list for the venue and your build team
Staffing is where pop-ups quietly fail. A team sized for a slow Tuesday gets overwhelmed on a launch weekend. Schedule to your busiest expected hours, not your average.
Step 5: Pop-Up Store Design That Pulls People In and Holds Them
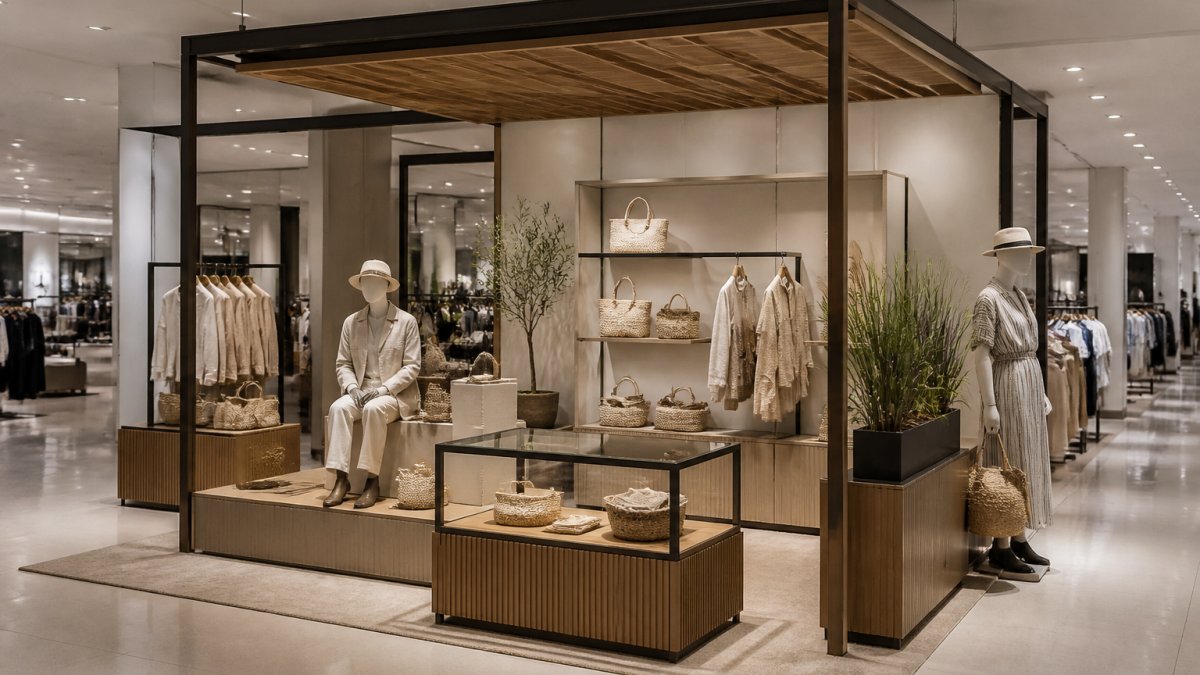
Good pop-up store design solves two problems at once: it stops people outside, and it gives them a reason to stay once they're in. The best layouts move a visitor along a path, with a clear focal point and an easy place to interact with a product or a person.

Start with sightlines. From the doorway, a visitor should see the main draw within a few steps. Then design the flow so they pass the products, the demo, or the checkout in a natural order.
A clear focal point: one hero moment, not five competing ones
Open sightlines: avoid walls that hide the best part of the space
A reason to linger: a demo, a photo moment, or a sampling station
Easy checkout: don't hide the register behind a crowd
Designing for Assembly, Shipping, and Reuse
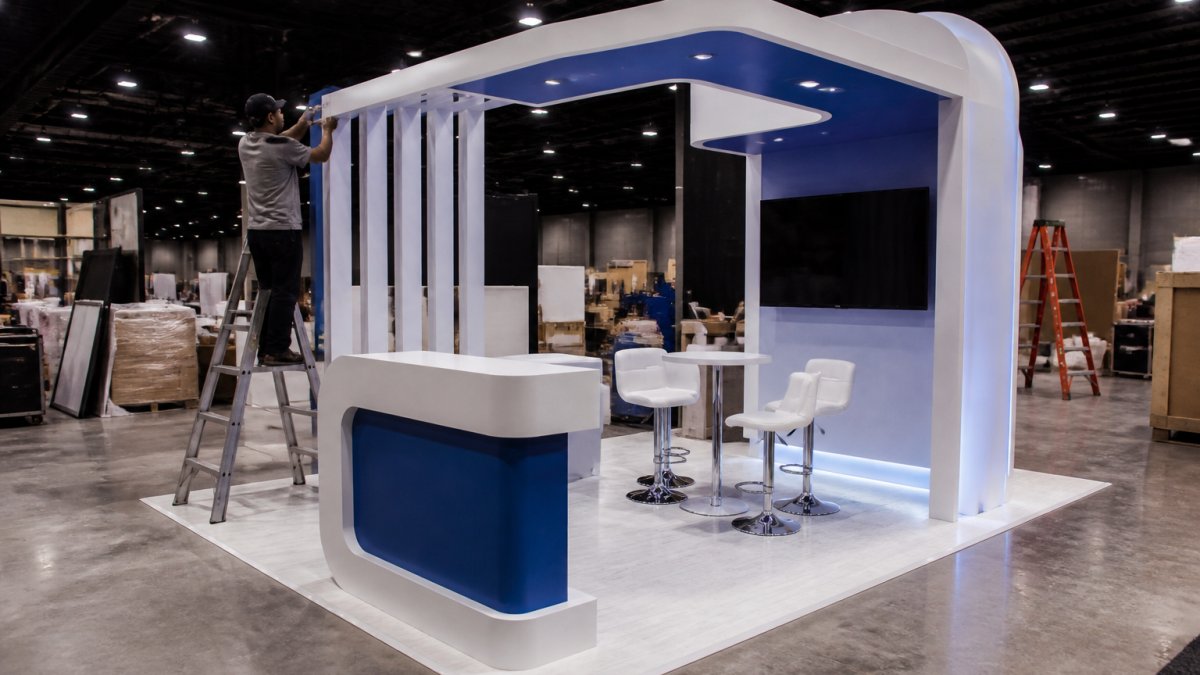
A pop-up that looks great in a rendering but takes three days to assemble is a problem, not a design. Modular fixtures that break down into labeled crates install faster and cost less in labor.
Consider reuse from day one. If the same fixtures can travel to a second market or a second event, the design pays for itself twice. This is where a fabrication partner who understands freight, crating, and install schedules earns their keep.
Watch Out Designing without a shipping and assembly plan is one of the most common and costly mistakes. A fixture that won't fit through the door or into a crate can force an on-site rebuild, which burns labor hours and can push your opening date.
Step 6: Track Pop-Up Shop Success Metrics From Day One
Pop-up shop success metrics should be chosen before opening day, tied directly to the goal you set in step one. If the goal was lead capture, count leads. If it was sales, track revenue per visitor. Measure from hour one, not after the event.
Pick a small set of metrics and watch them daily:
Foot traffic: how many people enter, and when
Engagement rate: how many stop, interact, or try a product
Conversion: sales or sign-ups per visitor
Revenue per square foot: a fair way to compare locations
Content captured: photos, video, and social posts created on site
Daily numbers let you adjust while the pop-up is still open. Move a fixture, change the staffing, or shift a promotion based on what the data shows, not what the plan assumed.
Common Mistakes That Sink Retail Pop-Up Activations
The failures repeat. Most come from treating the pop-up as a design project instead of an operational one.
No single goal: trying to sell, launch, and collect leads all at once
Starting too late: no buffer for fabrication or freight delays
Ignoring the space: freight access, power, and permits checked last
Overbuilding: a complex build that costs more to install than to make
No reuse plan: fixtures that can't travel to the next market
Measuring nothing: no data to prove the pop-up worked
Each of these is avoidable with a plan built in the right order. Goal first, then timeline, then space, then checklist, then design, then metrics.
Key Takeaway The pop-up that wins is not the most elaborate one. It is the one that hits a clear goal, ships and installs without drama, and produces numbers you can defend to leadership.
Conclusion: Build the Pop-Up Around the Result, Not the Rendering
A rendering is a promise. The pop-up that opens on time, stays on budget, and hits its goal is the one that matters.
That's the gap Breakthrough Productions closes. We design, engineer, fabricate, ship, and install pop-ups and retail activations nationwide, and we start by asking what you're trying to accomplish, not what you want us to build. Our team handles full project management from concept to install, builds modular fixtures designed for shipping and reuse, and produces 3D visualizations so you can see the timeline before a single cut is made.
Already have a rendering? Send it over. Have a budget but no concept? Let's work backward from the number.
Frequently Asked Questions
How far in advance should you plan a retail pop-up activation?
For a typical 2-4 week pop-up, start 12-16 weeks before opening day. That window covers site selection, lease negotiation, design approvals, fabrication, shipping, and installation. Custom fabrication alone usually needs 4-8 weeks depending on complexity. If your activation involves multi-city rollout or a build-and-ship program, add another 4 weeks. Compressing the schedule is possible, but every week you cut increases freight premiums, rush fabrication costs, and the risk of an incomplete install on opening day.
What should a pop-up shop checklist include before opening day?
A working pop-up shop checklist covers six areas: permits and local approvals, power and data, fixture and display delivery, staffing and training, POS and payment setup, and a teardown plan. Confirm certificate of insurance requirements with the landlord or venue. Verify freight access, elevator dimensions, and load-in windows. Walk the space with your fabrication partner before finalizing design so nothing arrives that cannot fit through the door or up the freight elevator.
How do you measure whether a pop-up activation was successful?
Track pop-up shop success metrics in four buckets: traffic (visitors, dwell time), engagement (demos, photo moments, samples), conversion (sales, email signups, loyalty enrollments), and content (social posts, UGC, press). Set targets before opening day so you can compare actuals against plan. Revenue per square foot and cost per engagement give you a clear read on efficiency. Post-event surveys and follow-up purchase data show whether the pop-up created customers beyond the run itself.
What does it cost to build a retail pop-up activation?
Pricing depends on square footage, design complexity, materials, fabrication method, freight distance, install labor, and whether the build is reusable. A simple modular setup costs far less than a fully custom millwork environment with integrated AV. Breakthrough Productions quotes each project based on scope, so share your budget and objectives early and we can work backward from the number. Send a rendering, concept, or RFP and we will return a detailed scope with line-item costs.
LET'S START SOMETHING AMAZING

Comments